Regular installation of MyChat Client application
Detailed guide of MyChat Client for Windows installation.
Installation preparation
- Download MyChat Client setup files. Direct link: https://www.nsoft-s.com/files/mcclient.zip
- Extract an installation mcclient-vX-X-X.exe file from a ZIP archive (Х-Х-Х is a Windows MyChat Client version, for example: mcclient-v6-6-0.exe)
- Launch installation mcclient-vX-X-X.exe file:
MyChat Client installation
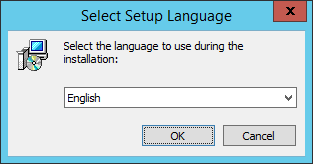
- Choose MyChat Client setup language:
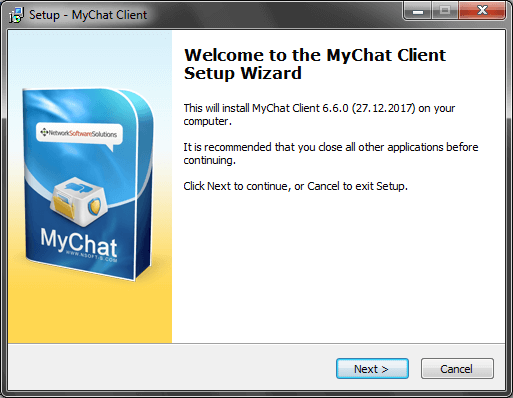
- Setup wizard greetings, first screen:
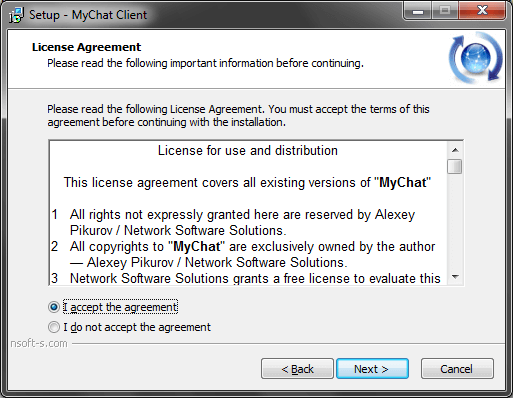
- Accept the terms of the license agreement:
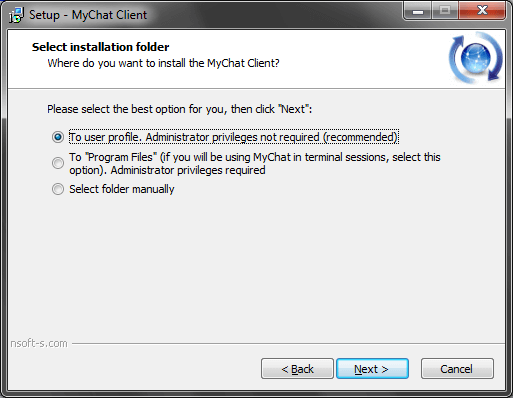
- Select client application installation location. We recommend you not to change the default folder (unless you are going to run MyChat Client in terminal sessions or Active Directory:
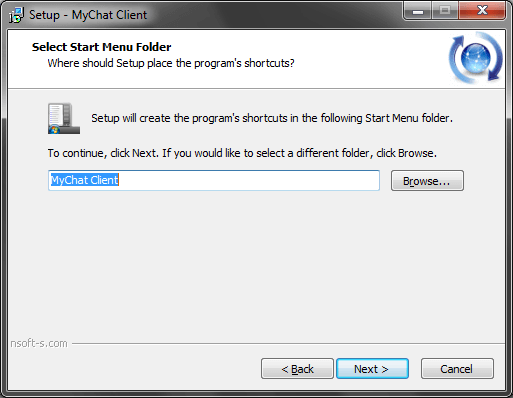
- Folder name in the "Start" menu:
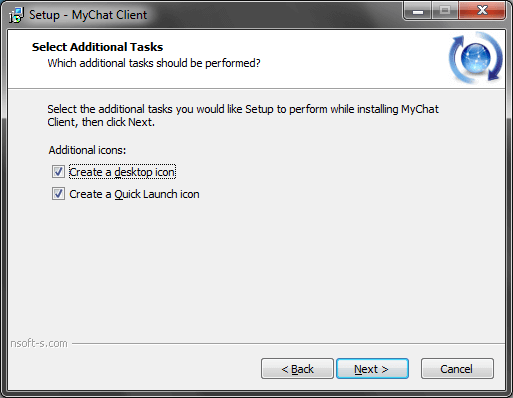
- Icons creation on the desktop and the Quick Launch toolbar:
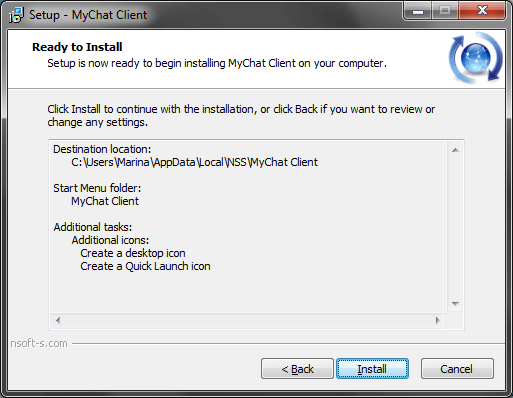
- Last step before copying files:
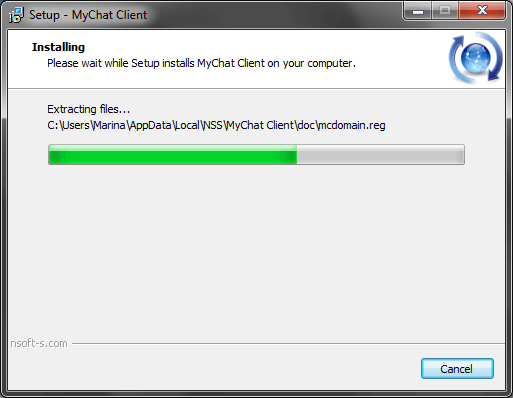
- Files copying process:
- Select Client automatic launch option:

- Installation last step:
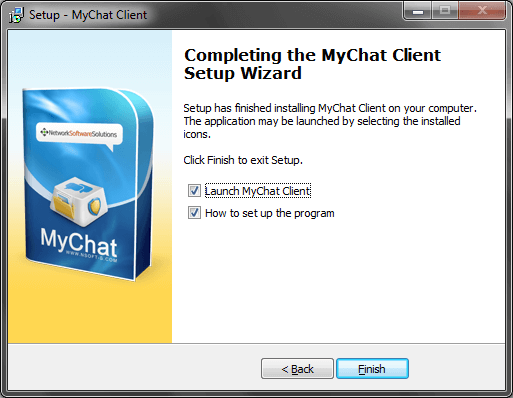
- Launch MyChat Client. After the first launch, the installation wizard opens automatically to configure your MyChat Server connection.